The other day, on one of my very frequent trips to the 99 cents store, I spied a bin full of clothing there. Not being one to turn down a deal, I thought I'd stop and take a look and found a bunch of t-shirts. One them was the one I used for this craft, a black fitted tee, size small. I went home and rummaged through my fabric stash to see what kind of craftiness I could apply to this poor, boring shirt.
I found half a yard of Hello Kitty fabric, that would be perfect.
That being settled, the first thing I did was turn the shirt inside out and cut the sleeves off following the seams.
Then I cut off the top back part of the shirt, starting at the shoulder seams, then across the back. Then I turned it down about 1/2 inch and pressed it in place. You can adjust this to make it lower or higher, I didn't want the back too low since I was making it for Teenie.
I set the shirt aside and started on the fabric. Using the shirt hem as a guideline I stretched it as far as I could and lined the fabric up with it. Then I cut off the excess fabric. Set aside extra fabric, for use later. If you have no extra fabric, skip this step. I cut the entire 1/2 yard in half long ways and pinned up 1/4 inch for a hem, pinned and pressed in place.
Stitch in place using a finishing stitch. If you ave a fancy, computerized sewing machine, just pick one of those wide stitches. If you have a regular sewing machine, just use a zigzag stitch.
You want the edge to look like this.
Then match together sides and sew together so you are left with a big loop.
On the opposite end of the hem, use straight stitch and make the stitches as long as your machine will allow. Then pull the bottom thread so that the fabric starts to gather.
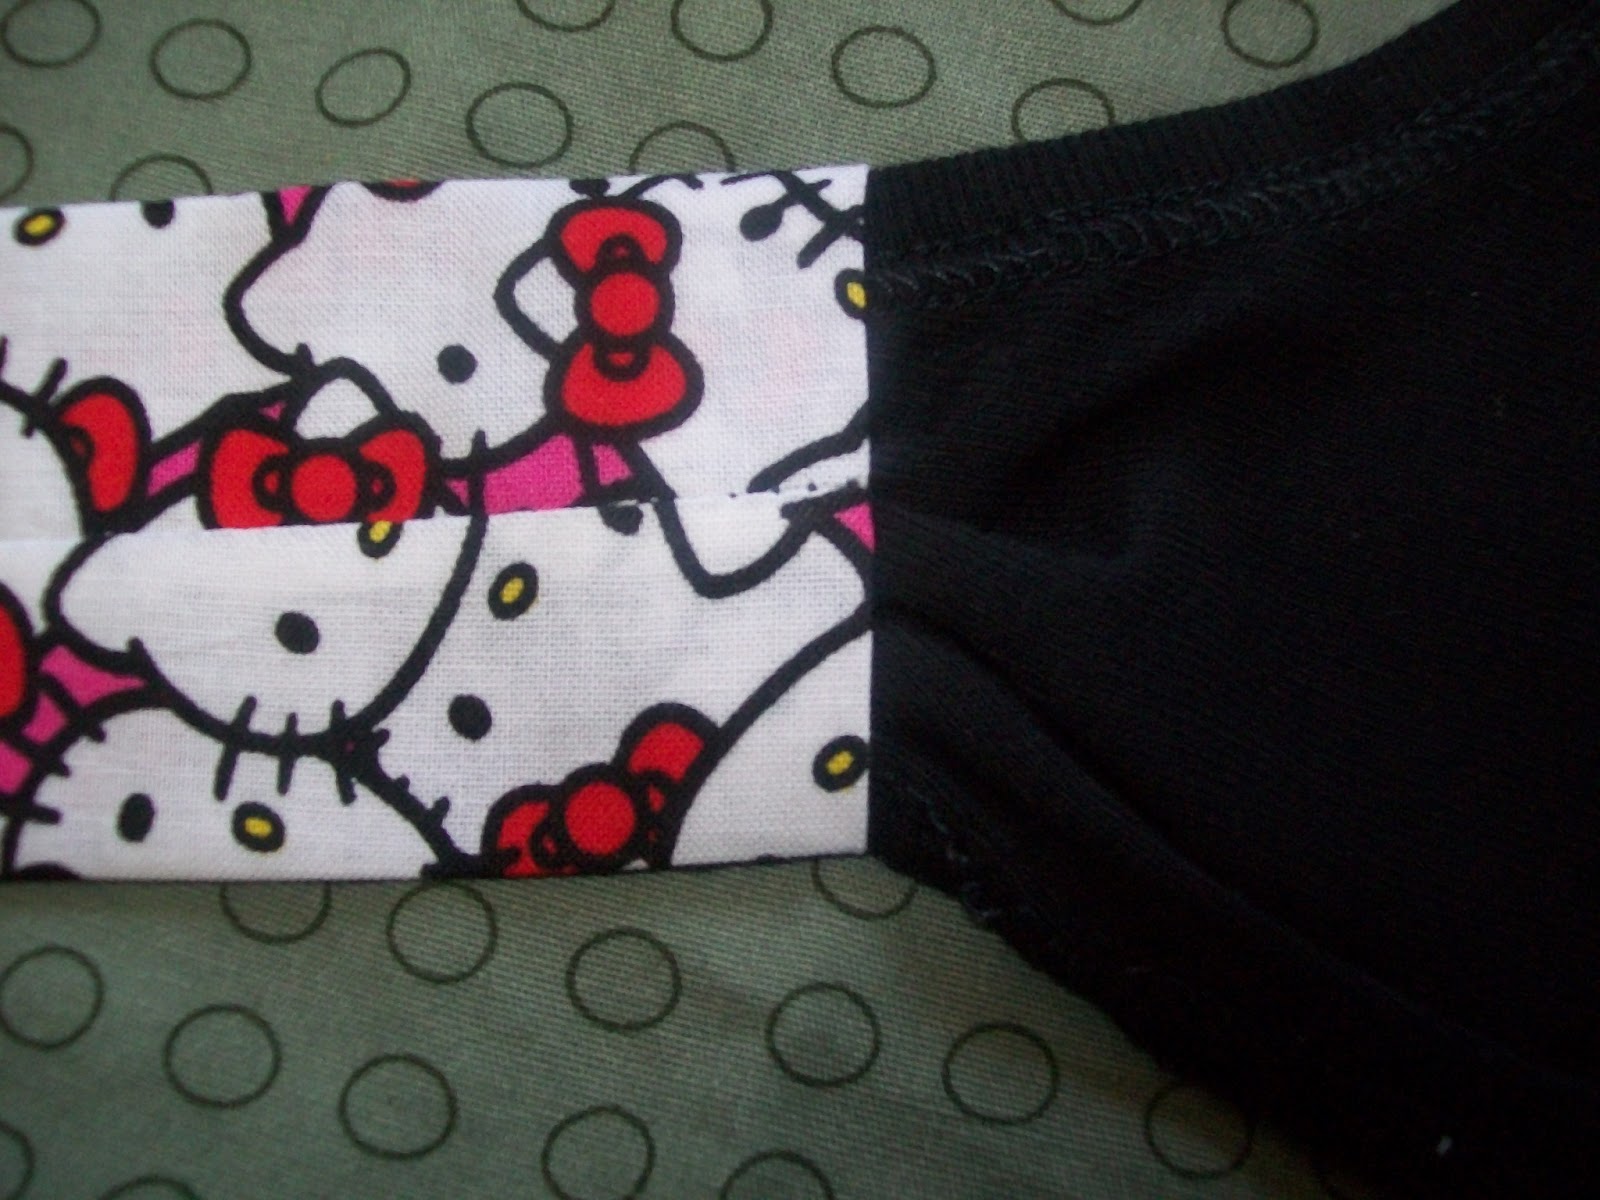
Pin shirt hem to gathered edge of fabric. You want to make sure you are pinning them both right side out. This is important because you are actually going to use the shirt hem to sew as a guide line. If you need to, pin shirt and skirt together inside out first, then flip right side out and re pin. Make sure you take all of the pins out of the underside. Then sew, using the hem as a guide line. I actually stitched right on top of the bottom hem of the shirt using black thread. Stitch slowly on the line careful to avoid pins.
Ta Da! It almost looks like something. But it isn't anything yet, because it desperately needs straps to be functional.
On the edges of the shirt that used to be armholes, I used a finishing stitch to run along the edge of the shirt. I just chose a stitch that looked as close to the manufacturer's stitch as possible. Or you could just use a zigzag stitch and run along the edge of the armhole, sewing over the folded hem, and a little past it. Do this on both sides.
Turn and stitch across back folded down hem. I feel that it is better to use the same color or as close to possible as the fabric you are sewing, because it hides mistakes, which is very helpful if you have been drinking and sewing. After the back hem is stitched feel free to cut excess material if desired. At this point you are pretty much done, all you need is straps.
This is the excess fabric I had left over from the skirt, I actually ended up with 2 pieces this size. If you do not have any feel free to use what ever excess shirt material you may have, or scrap that idea and use ribbon or contrasting fabric.
Cut in half lengthwise. Then fold each strap together lengthwise again, so they are inside out.
Stitch along the edge leaving ends open.
Turn right side out, center the seams and press.
Tuck in ends.
Tuck top part of sleeves in as neatly as possible. Make sure the seam will be facing on the inside of the top. Pin in place, then sew.
Here's what the straps look like. At this point you will want to try your dress on your model to figure out where the straps will sit and to figure out if any other alterations need to be made.
I had Teenie put on the dress and then pinned the straps in place with
safety pins (because little kids really, really hate it when you poke
them with straight pins.)
Sew in place, as you can see my stitches got a little wonky. This is what happened when you drink and sew. But it's on the inside and no one can see it unless they look for it. Any hoo, I decided the dress looked a little plain and needed some pizazz. Since I'm running low on rhinestones and glitter, (Teenie thinks everything looks better with bling and glitter, and I totally agree) so I made a bow.
Using the last of my Hello Kitty fabric, I cut two rectangles, turned them inside out and sewed them together on all four sides.
Pull apart in the center making a little pillow.
Snip a little hole in the center of one side, then turn the fabric right side out.
Pinch together using a little accordion fold.
Use fabric to hold center of bow. I wanted contrast so I used a piece of the t-shirt.
Pin and hand stitch straight through the bow and the center piece of fabric.
Either attach with a safety pin, sewing the safety pin into the fabric. Or hand stitch the bow on your dress. I decided to hand sew it.
Yay! All Done!
Time for a photo shoot!


Just wonderful and pretty ;) thanks a lot :)
ReplyDeleteLovely idea!
ReplyDeletelove,love your blog,so helpful and creative. keep it comin, love all you mix receipes!!!
ReplyDeleteIt's adorable!!
ReplyDeleteReally cute new take on the T-shirt dress! I pinned it on Pinterest with the direct link back to you. Hope you don't mind :)
ReplyDeleteDeborah
Wonderful tutorial! I loved the outcome! So cute!
ReplyDeleteGreat post!! I included it in my post Βόλτα στη Γειτονιά!!! ...while sewing!! :)
Have a great weekend!!